Device Set UpUpdated 8 months ago
Mysa for AC can be setup in two ways:
Mounted to the wall.
Placed on a table top.
What’s in the box
Inside the box you will find the items below plus a Welcome Booklet
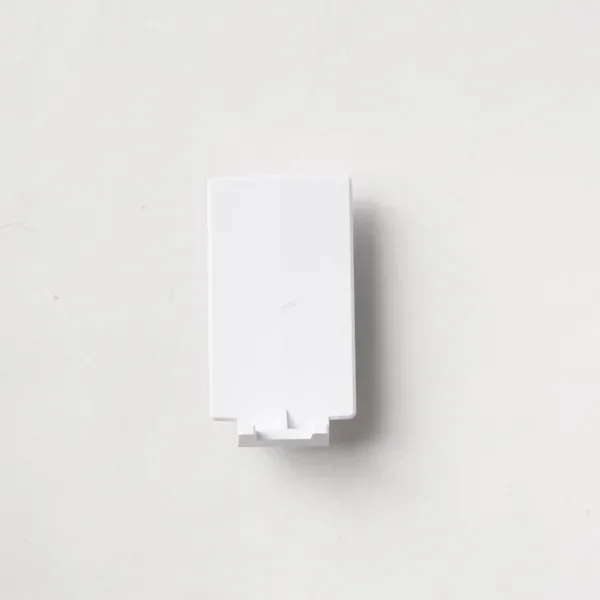
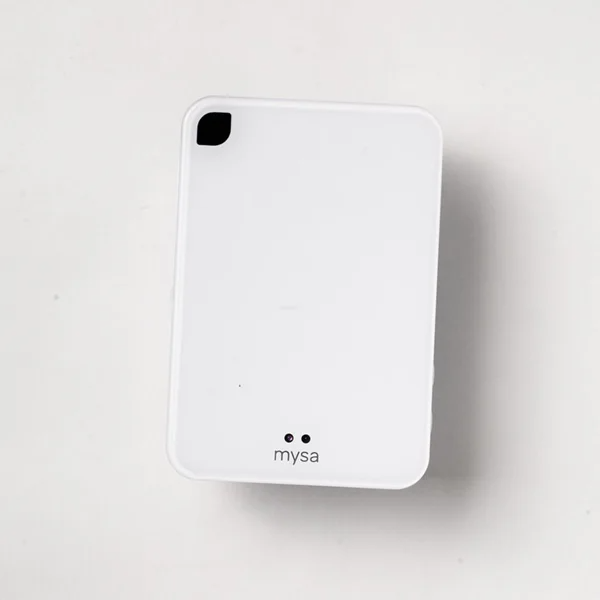 1x Mysa Smart Thermostat for AC |  1x AC Adapter 1x AC Adapter | 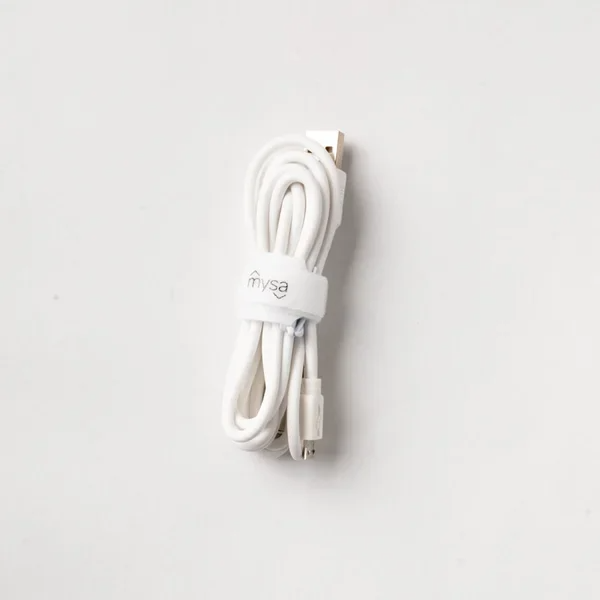 1x Micro USB Cab 1x Micro USB Cab |
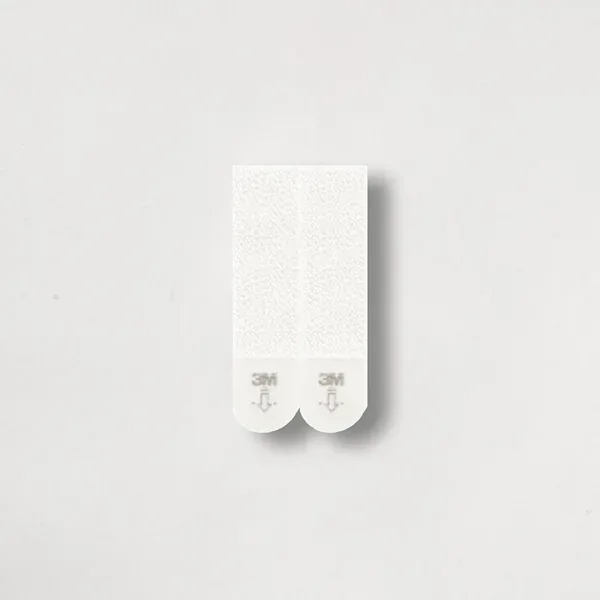 2x Mounting strips | 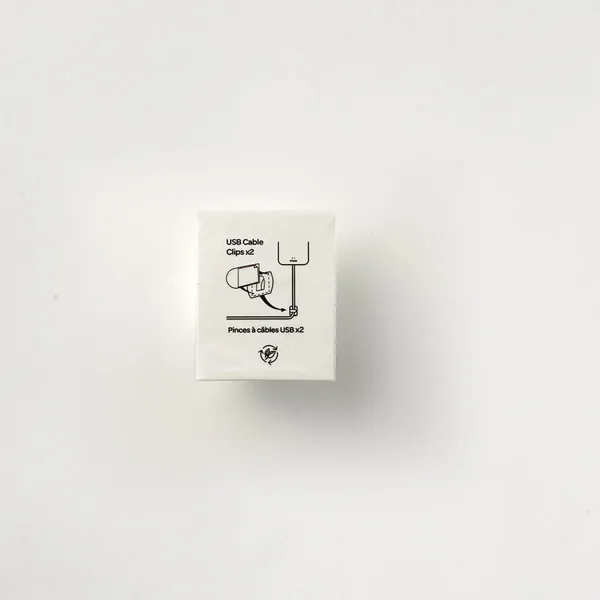 2x Adhesive wire ties 2x Adhesive wire ties
|
|
Setting up your Mysa for AC
Tap on the Youtube icon to access full video.
Wall Mounting Instructions for Mysa for AC
- 1. Prepare the Adhesive Strips
- Remove the protective plastic from the adhesive mounting strips provided.
- 2. Attach Strips to Mysa
- Apply these strips to the designated areas on the back of your Mysa.
- 3. Choose the Right Location
- Select a wall spot that offers a clear line of sight to your air conditioner or mini-split.
- 4. Secure Mysa on the Wall
- After positioning Mysa, press firmly for 30 seconds to ensure strong adhesion.
- 5. Optional Cable Clips
- For cable management, use the included cable clips. Remove their adhesive backing and mount them according to your preference.
Tabletop Placement for Mysa for AC
- 1. Assemble the Stand
- Remove the tabletop stand from the box. Align the stand's two pins with the holes on the back of Mysa.
- 2. Secure the Connection
- Insert the pins until they are fully engaged and aligned, ensuring a stable, wiggle-free setup.
Understanding Optimal Placement
- 1. Line of Sight is Crucial
- Mysa functions by mimicking your remote's infrared codes, requiring a direct line of sight to your AC unit.
- 2. Avoid Obstructions
- Ensure no walls or furniture block Mysa's view of the AC.
- 3. Placement Recommendations
- For best results, place Mysa near your regular seating area or on an opposite wall to maintain ideal room temperature. We recommend a maximum distance of 25 to 30 feet between the unit and the Mysa device.
Additional Tips for Mini-Splits
- Multiple Heads: If your mini-split has multiple heads, one Mysa unit may suffice for control, provided the line of sight is not obstructed.